Tile Set
The tile set shows all known tiles of a tile mapping style project.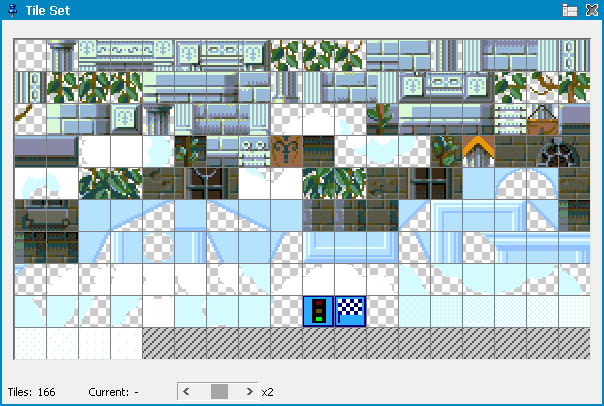
You can manage your tiles here be dragging them around. Use the right mouse button to apply different functions.
If you select a tile with the left mouse button then it is stored in your brush and the tile mapping edit mode switches to pick/place so that you can directly place it to the tile map. You can disable this behavior in the window's extra functions icon at the top right.
Please read the tile mapping primer to find best practices about how to handle tile sets. There are different approaches to define multi tile objects that can be picked up and placed easily.
When moving the mouse over a tile you can see it in a zoomed overlay that shows the tile number and the assigned code as decimal and hex value.
Double click on a tile to enter the tile settings. Hold the mouse button and drag the tile to move it to another position.
Use the zoom scale slider to adjust tile display size.
Use the icon at the top right of the window to find additional options and settings.
Auto activate Tile Placement will activate Pick/Place mode when selecting a tile from the set.
Display settings lets you define visualizations for duplicates or empty tiles or define a fixed number of tiles per row to be displayed.
Related topics
Menu Tile MappingTile Mapping Data Export
Tile Mapping Primer
Last modified: 29 January 2023